HOW TO CHECK THE SCANNING QUALITY OF IMAGES? 3 SOLUTIONS
(2020年)https://www.projecticodis.com/products/megascan-pro-x7-automatic-high-speed-book-camera-scanner
Interlaced scanning and progressive scanning are two techniques of book scanner camera are used to read and display image sensor information. Interlaced scanning is mainly used for CCD. Progressive scanning is used for CCD or CMOS sensors. How to check the scanning quality of the image? Here are three tips for mastering the scanning image inspection of auto book scanner.
1. Check image scaling range
For many primary users, checking image quality often means checking the hue of the image. They think that good colours are equal to good images. This is only one aspect of the problem. The most critical factor to look at an image is to check its scale, that is, the level of the image. And the so-called level is the varying degree from dark tone to bright tone in the image. To check the image level, we need to use professional tools, such as Photoshop and imagepais2.
The pipette tools in this software can check the level of the image, especially for the highlight and dark areas.
If a large area of white or black with the same value appears in the highlighted area and the dark area, or the change range of the value is very small, it means that the image level is poor. The images with good scanning quality have clear layers and even colour scale distribution. Besides, the "histogram function" in Photoshop can also help the user to check the status of the scanned image to see whether the continuous level smoothly transits from light to dark or whether there is a ribbon gap. If there is an obvious bandgap, the density value of the scanner selected by the user is low and should be adjusted accordingly.
2. Check image colour
When the image has enough layers, we should check whether the colour of the image is balanced, that is, whether the image is biased. The easiest way to check colour balance is to check neutral grey. Grey balance is a gradual process from the smallest black (0%) to the largest white (100%) in the image, and it is one of the important parameters for converting RGB to CMYK. Theoretically, mixing equal amounts of C, m, y inks will produce neutral ash. But in fact, due to the difference in ink quality, more or less will cause a certain proportion of deviation. Neutral grey can only be achieved in a certain proportion. Users can print from Photoshop
Inks setup function to determine the correct CMYK value.
The easiest way to check image colour is to open the info panel in Photoshop and move the cursor to the brightest highlight and darkest dark area of the image. Note the data displayed on the info panel. If the RGB value read in the highlight and low-key areas is between 250 and 5, it means that the colour range of the scanned image has enough details and the image quality is very good.
3. Check the brightness of the image
It is also important to check the brightness of the image. We compare it with the original to see if the scanned image is too dark or too bright. Too dark or too bright to get the ideal image. It is a simple method to adjust the gamma value when the image is too dark. But doing so will cause the scanned image to lose information. In fact, the easiest way to check the brightness of an image is to compare it with the original. In CYMK mode, try to read the colour value on the scanned image to see if it is close to the original.
In fact, the scanning process of fast book scanner has always been simple. But to get a high-quality scanning image, there are too many variables involved. If we want to get a perfect scanning image, the quality control of the scanned image is very important. And to achieve the above points seriously is undoubtedly an important factor to achieve perfect output.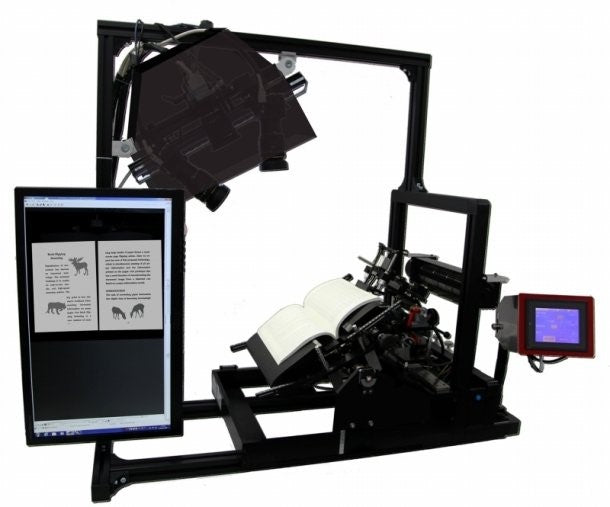
- «前のできごと |
- 次のできごと»
- このできごとのURL:


コメント