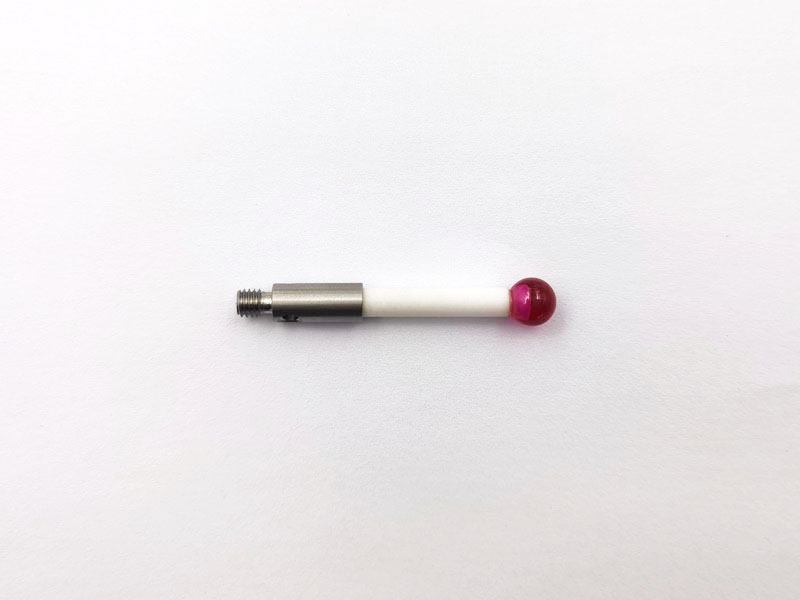
The Principle of Calibration of the Touch Trigger Probe
(2022年10月30日)https://www.pioneergroup-cn.com/the-principle-of-calibration-of-the-touch-trigger-probe.html
1. Why should the probe be calibrated
There are two main reasons for calibrating the probe: one is to obtain the compensation diameter of the ruby ball of the probe, and the other is to correct the time error of different probes generating signals and reaching the machine tool system through the receiver.
Since the touch probe stylus in the coordinate measuring machine under test is used to measure the contact area of the gem ball and a contact measurement signal from the probe stylus (sensor), this signal enters the counting system and will be sent to the computer at the moment when the grating counter is locked. When operating, the measurement software will receive the Z coordinate of a point displayed as X.Y. This coordinate point can be understood as the coordinate of the center of the probe stylus gem ball, which differs from the contact point between the probe stylus gem ball and the workpiece by one gem ball radius. In order to calculate the exact contact coordinates we want, the radius/diameter of the probe stylus gem ball must be obtained by calibrating the probe stylus.
In the actual measurement project, the parts cannot be moved and turned at will. In order to facilitate the measurement, it is necessary to select different probe stylus positions, lengths and shapes (star, cylinder and needle) according to the actual situation. In order to directly calculate these different probe stylus positions and the elements measured by the different probe stylus, the relationship between them needs to be measured and converted during calculation. Therefore, the probe needs to be calibrated.
2. Principle of touch trigger probe calibration
The calibration of the touch trigger probe is mainly carried out with a standard ball. The diameter of the standard ball is between 10mm and 50mm, and its diameter and shape deviation have been calibrated (all standard ball configured by the manufacturer has a calibration certificate). Touch trigger probe needs to be defined before calibration, and select (input) probe base, probe, extension rod, probe stylus, standard ball diameter (the actual diameter value of the standard ball after calibration), etc., according to the measurement software requirements. Some software needs to input the distance from the probe stylus to the center of the probe base in cnc probe calibration , and at the same time define the number of the probe base stylus that can distinguish its different angles, positions or lengths. Manual, joystick, and automatic methods can touch more than 5 points within the maximum range of the standard ball (7~11 points are generally recommended), and the points should be evenly distributed.
The computer software carries out the fitting calculation of the ball through the X, y and Z values of the center coordinates of the gem ball of these points, and obtains the center coordinates, diameter and shape deviation of the fitting ball. By subtracting the diameter of the standard ball from the diameter of the fitting ball, the diameter of the probe stylus gem ball after correction is obtained, that is, the "dynamic diameter".
When other probe styluses of different angles, positions or different lengths are calibrated according to the above method, the positional relationship between the touch trigger probe can be obtained from the difference of the center point coordinates of each fitting ball, and the probe relationship matrix is generated by the software. When we use styluses of different angles, positions and lengths to measure elements in different parts of the same part, the measurement software will convert them to the same probe number (usually probe No. 1), just like it is measured by the same probe. Any probe that has been calibrated on the same standard ball (without changing positions) can accurately realize this automatic conversion.
Pioneer is a professional probe manufacturer, we provide pioneer probe, cnc height setter, length tool setter, cnc tool setter and etc. Want to know more? Please contact us.
- このできごとのURL:


コメント